

DIY Winter Gardens: Planters, Pots, and Boxes

Here we are in the Northland (northern Minnesota) with winter quickly approaching. As the holiday season gets underway, we find ourselves beginning to decorate our homes to reflect the holidays. A festive winter planter helps decorate the outside of our homes with an inviting feel as we enter our doors.
If you are considering using your seasonal planters to create your own winter planters this year, there are few things you need to keep in mind before you dig into the dirt…
Clear your planter, pot, or box of any summer or fall plants.
Place in a location where the soil won’t freeze.
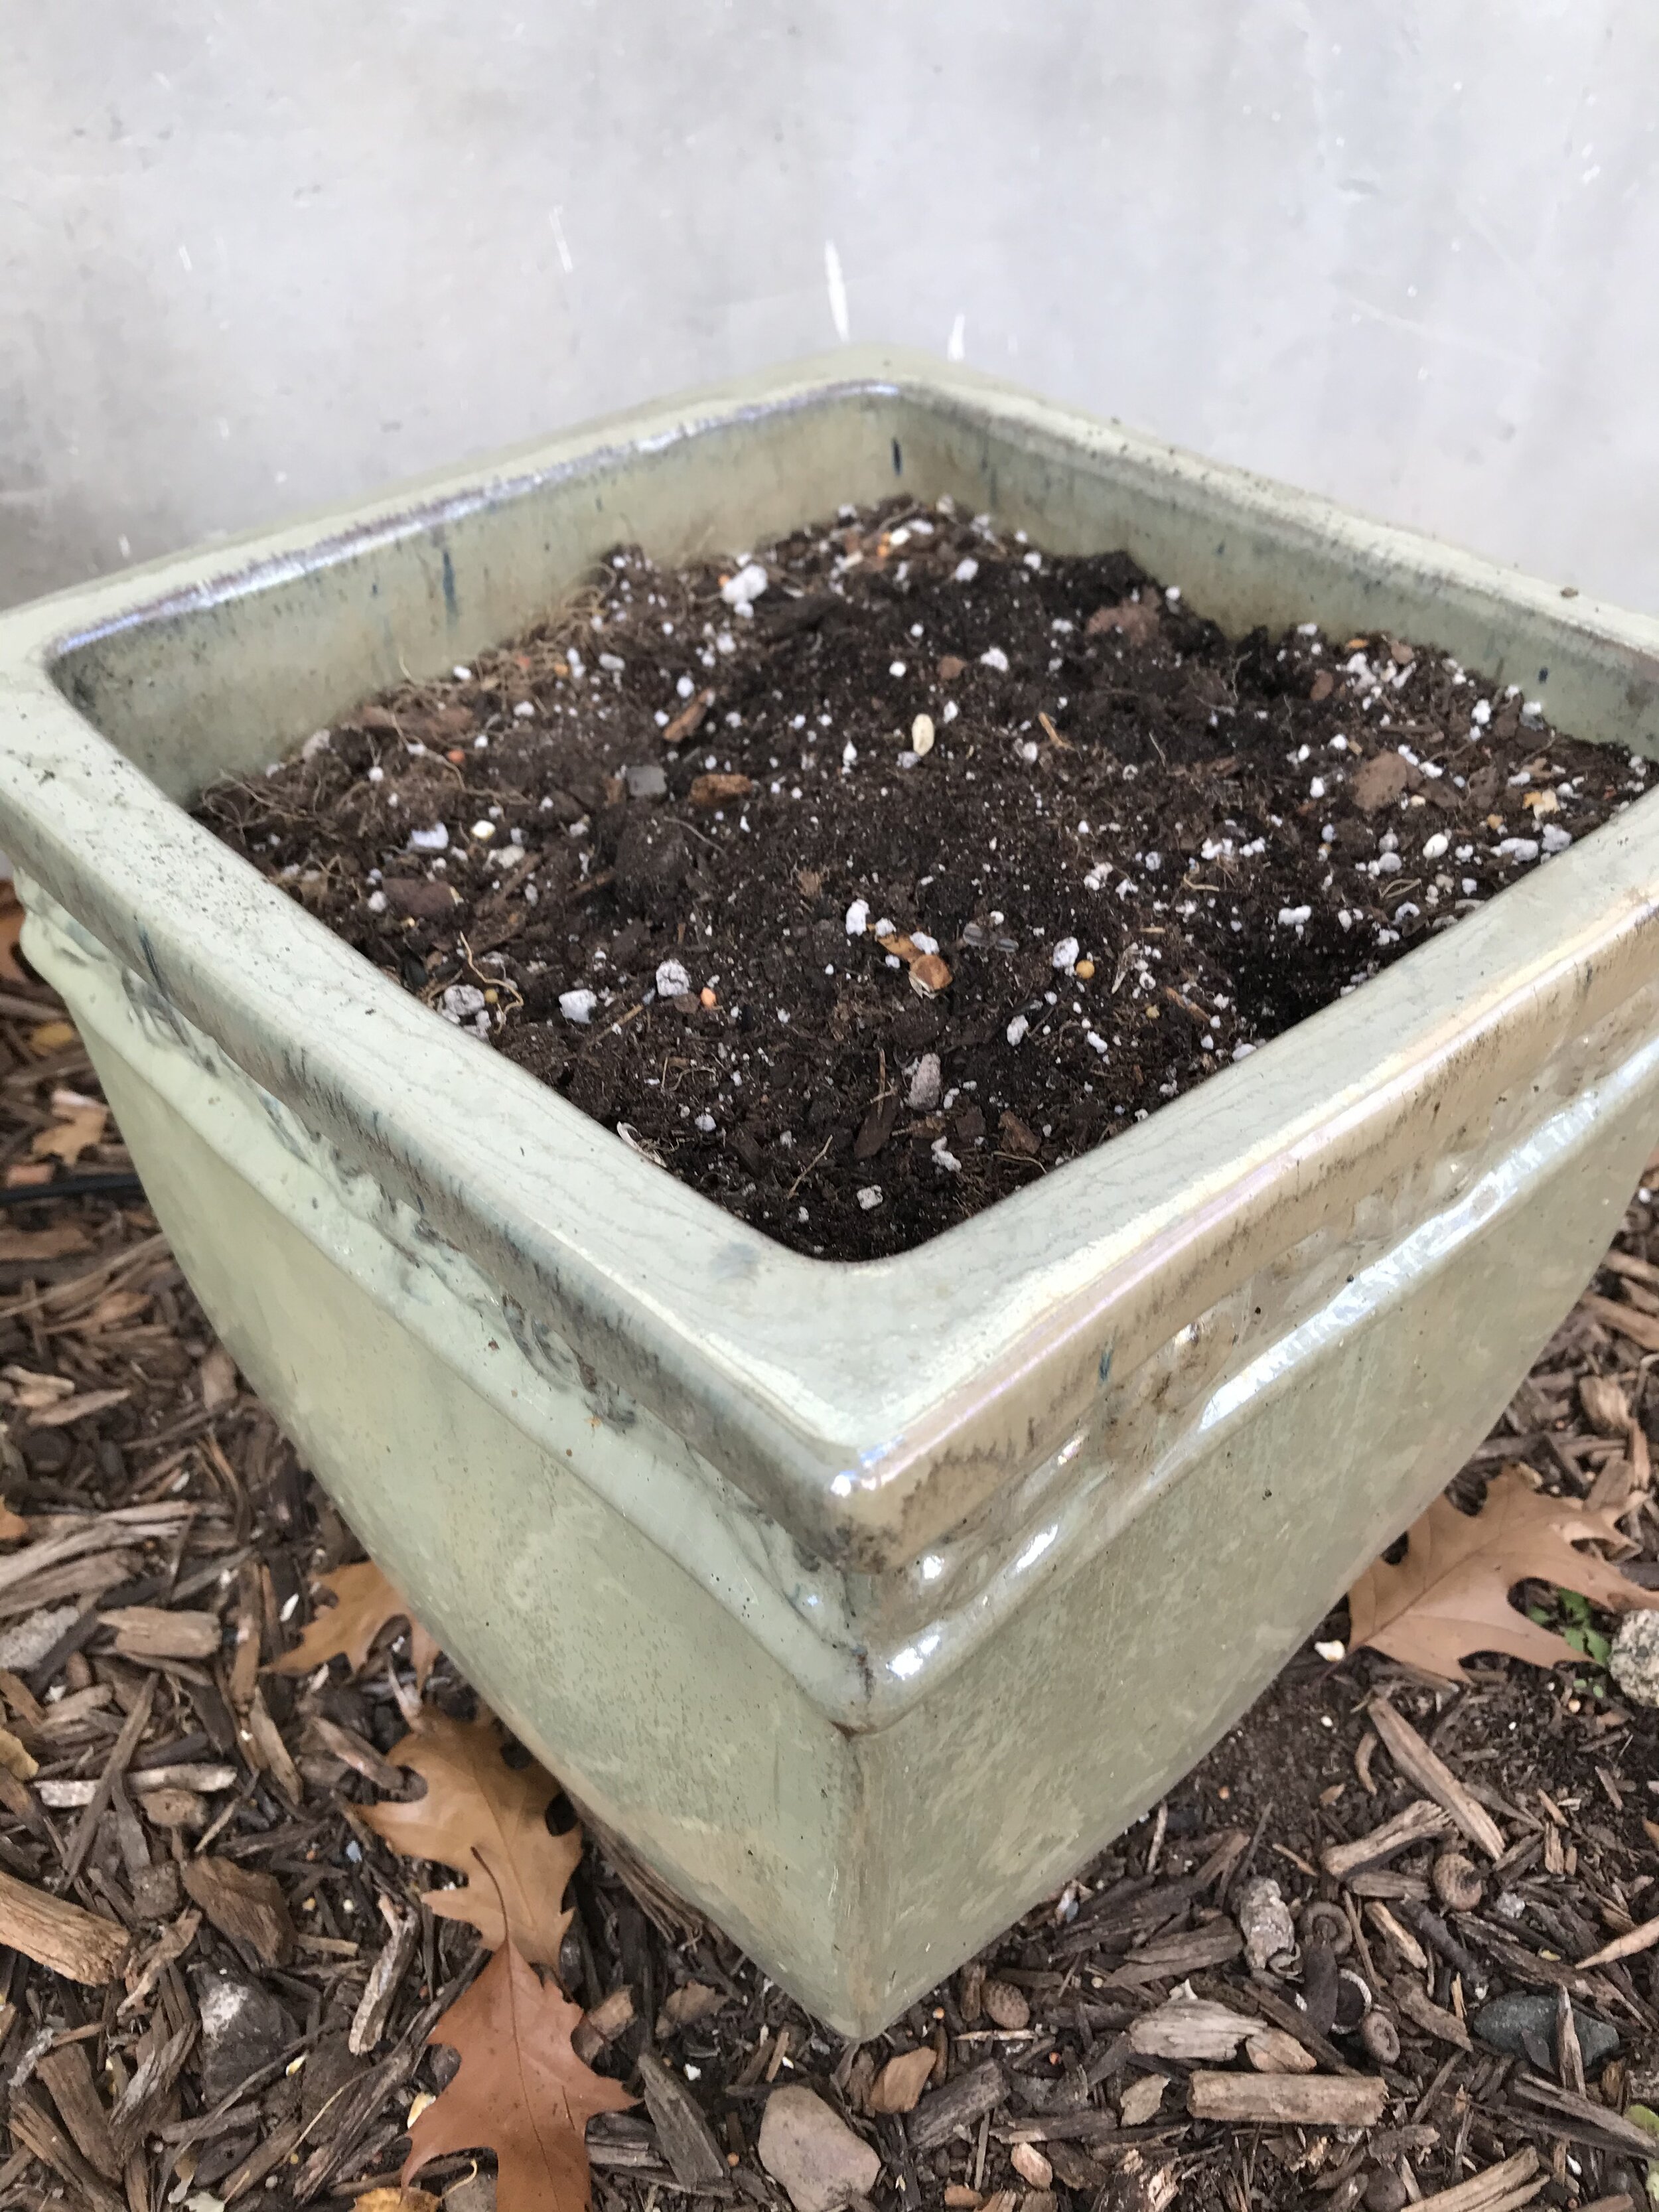
Place your (soil-filled) planters in a warm location where the soil won’t completely freeze (as it is very difficult to build a beautiful winter garden in frozen soil).
Ensure you have the proper tools to create your winter garden. Tools you’ll need include: gardening pruner or shears (you can find these at your local hardware store - these help cut through larger stems or branches), scissors, gloves (if you don’t want dirty or sticky sap hands), and a broom to clean the mess that comes with most DIY projects.
Gather all the materials necessary to create your winter garden. We’ve created a DIY Winter Planter Kit that can be delivered right to your door! The kit can include poles, branches, sticks, evergreens, and decorative items, such as berries, pine cones, bows, etc. Especially with the holiday season quickly approaching, who has the time to go find all these items?!? Buy the DIY Winter Planter Kit and you’ll be ready to create!

Tools include: gardening pruner or shears, scissors, gloves, and a broom.
Once you’ve warmed your soil, pulled together your tools and gathered all your supplies, you’re ready to begin! Please know that there isn’t a “right” way to create your piece - make it the way that looks great to you! However, if you need some guidance, keep reading below to see how I create mine.

I begin first by packing the soil down into my planter (note: you may need to add more soil if it packs down lower than a few inches below the lip of the planter). I worked in a greenhouse for 10 years and I learned some planter advice to share; when creating a beautiful planter, you want ensure you have these three elements:
Thriller
Filler
Spiller
Ok, simply put, thriller = something tall or focal that will stand out (poles, branches, tall evergreens), filler = something that will fill space in the middle (evergreens, decorative berries, pine cones, glittery stems), and spiller = something that will trail below the lip of the container (bow, evergreens that hang over the edge).
Now I begin with my thrillers; I place the poles, branches and tall evergreen(s) in first (ensuring that the stems sink into the soil at least 6 inches). Secondly, I fill the space with medium-sized evergreens to cover the middle area completely and decorate with berries, pine cones, glittery stems or whatever makes the planter wintery and festive. Lastly, I spill evergreens (usually cedar or some type of evergreen that naturally hangs or curves) over the lip of the planter and finish the planter with a bow.
We’re not quite done…yet. I bring my planter to the location (porch, step, front door, window box, etc) where it will stay for the winter and I water it really well. (NOTE: Water the planter after it’s in its place because it can get VERY heavy.) The watering step is important for two reasons - to ensure the evergreens get a drink to stay green and to freeze the items in place.
Yay! Now you’ve created a beautiful (DIY) winter planter that you can enjoy for many months!
